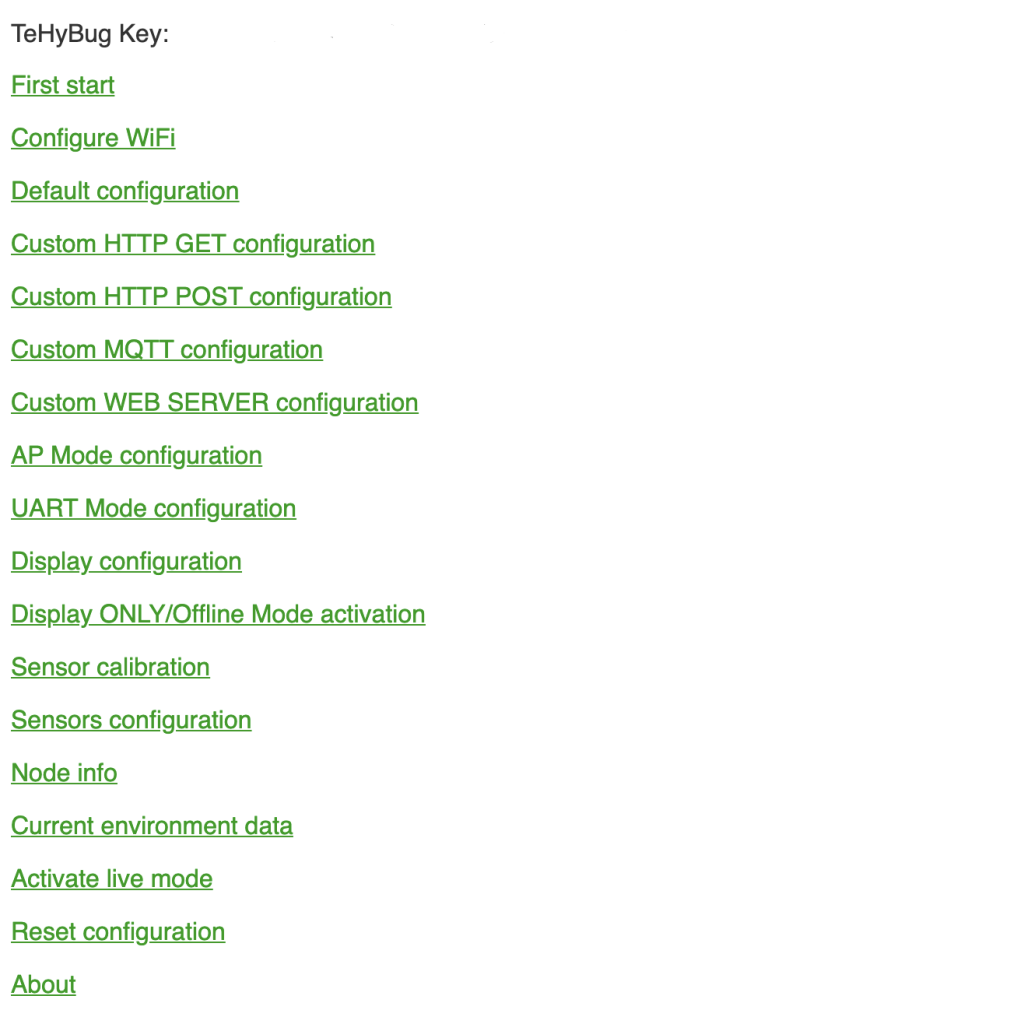
Once you connect to the TeHyBug Wifi Network AP and open http://192.168.1.1/ in your browser, you will see the configuration index page.

The first thing you should do is to provide your Wifi Credentials on the “Configure Wifi” page. Nothing special just fill the form with your network name and password.
The next step on TeHyBug 18650 Universal is to select the connected sensor on the “Sensor configuration” page. Here is also nothing special, just select the sensor that you have connected.
Then go to the “Current environment data” page and check if the sensor is delivering data properly.
As next select the desired data serving method, if you don’t know what an MQTT or HTTP POST/GET request is, then you should use the “Default configuration” page and leave other data serving methods untouched.
(For the “Default configuration” you’ll have to create an account at http://tehybug.com )
(If you chose the default configuration please write down the TeHybug key. You will need to provide it at your TeHyBug account.)
On the default configuration page, you’ll have to define the data frequency in minutes. Data frequency is a time interval that defines how often should the TeHyBug measure the sensor data and send it to a remote data server. Lower data frequency means higher power consumption and causes the battery to discharge faster.

Once you click save, the success message will ask you to activate the live mode and start serving data. If you are ready with your configuration, you can click the “activate live mode” link. Optionally you can also activate the live mode from the index page, so you don’t need to do it on the configuration page.

Then you will see the next message to restart your TeHyBug, when you click the restart link, your TeHyBug will close the WIFI Network AP reboot and start serving data.
Done!
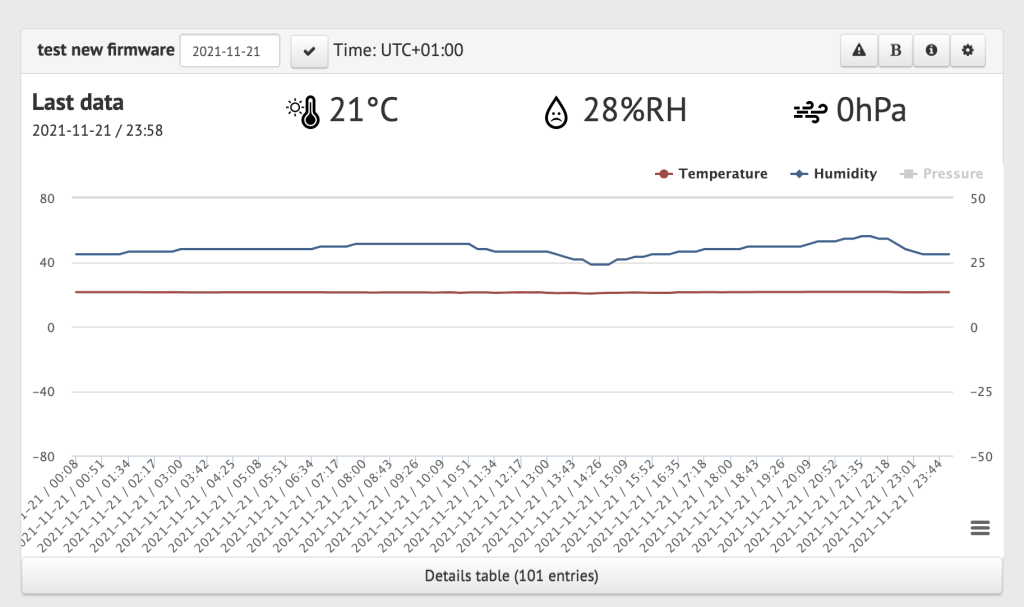
Login to your data server and check the TeHyBug Sensor data.


Leave a Reply