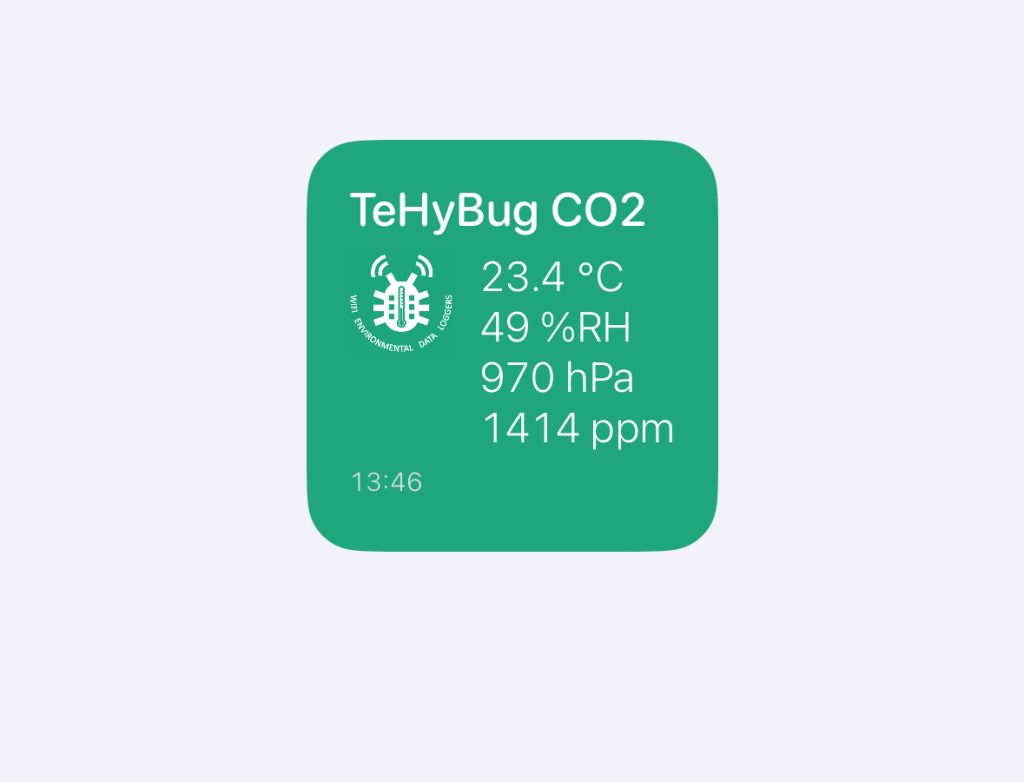
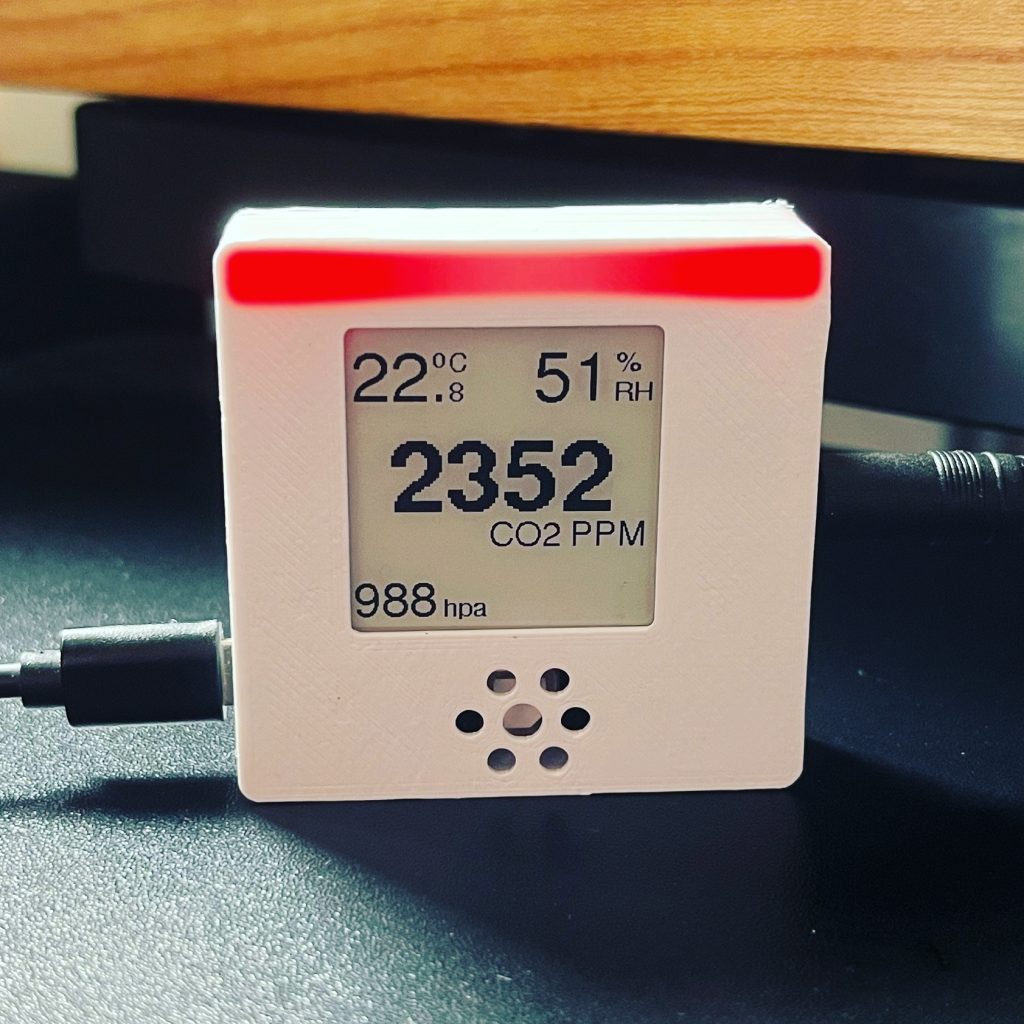
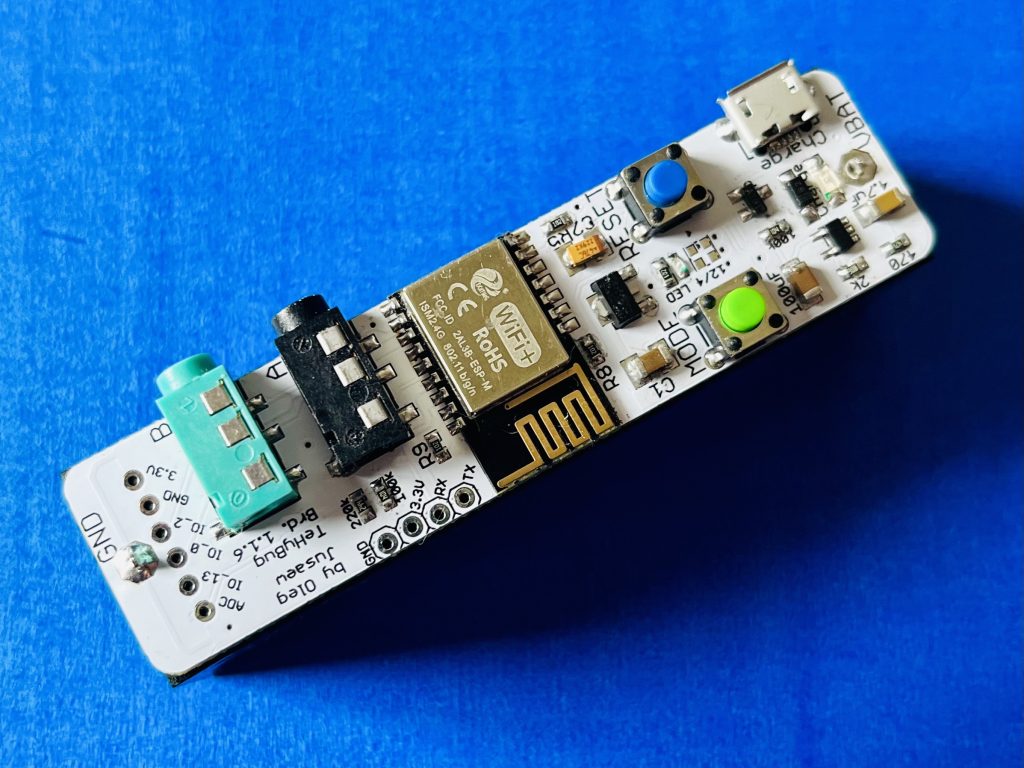
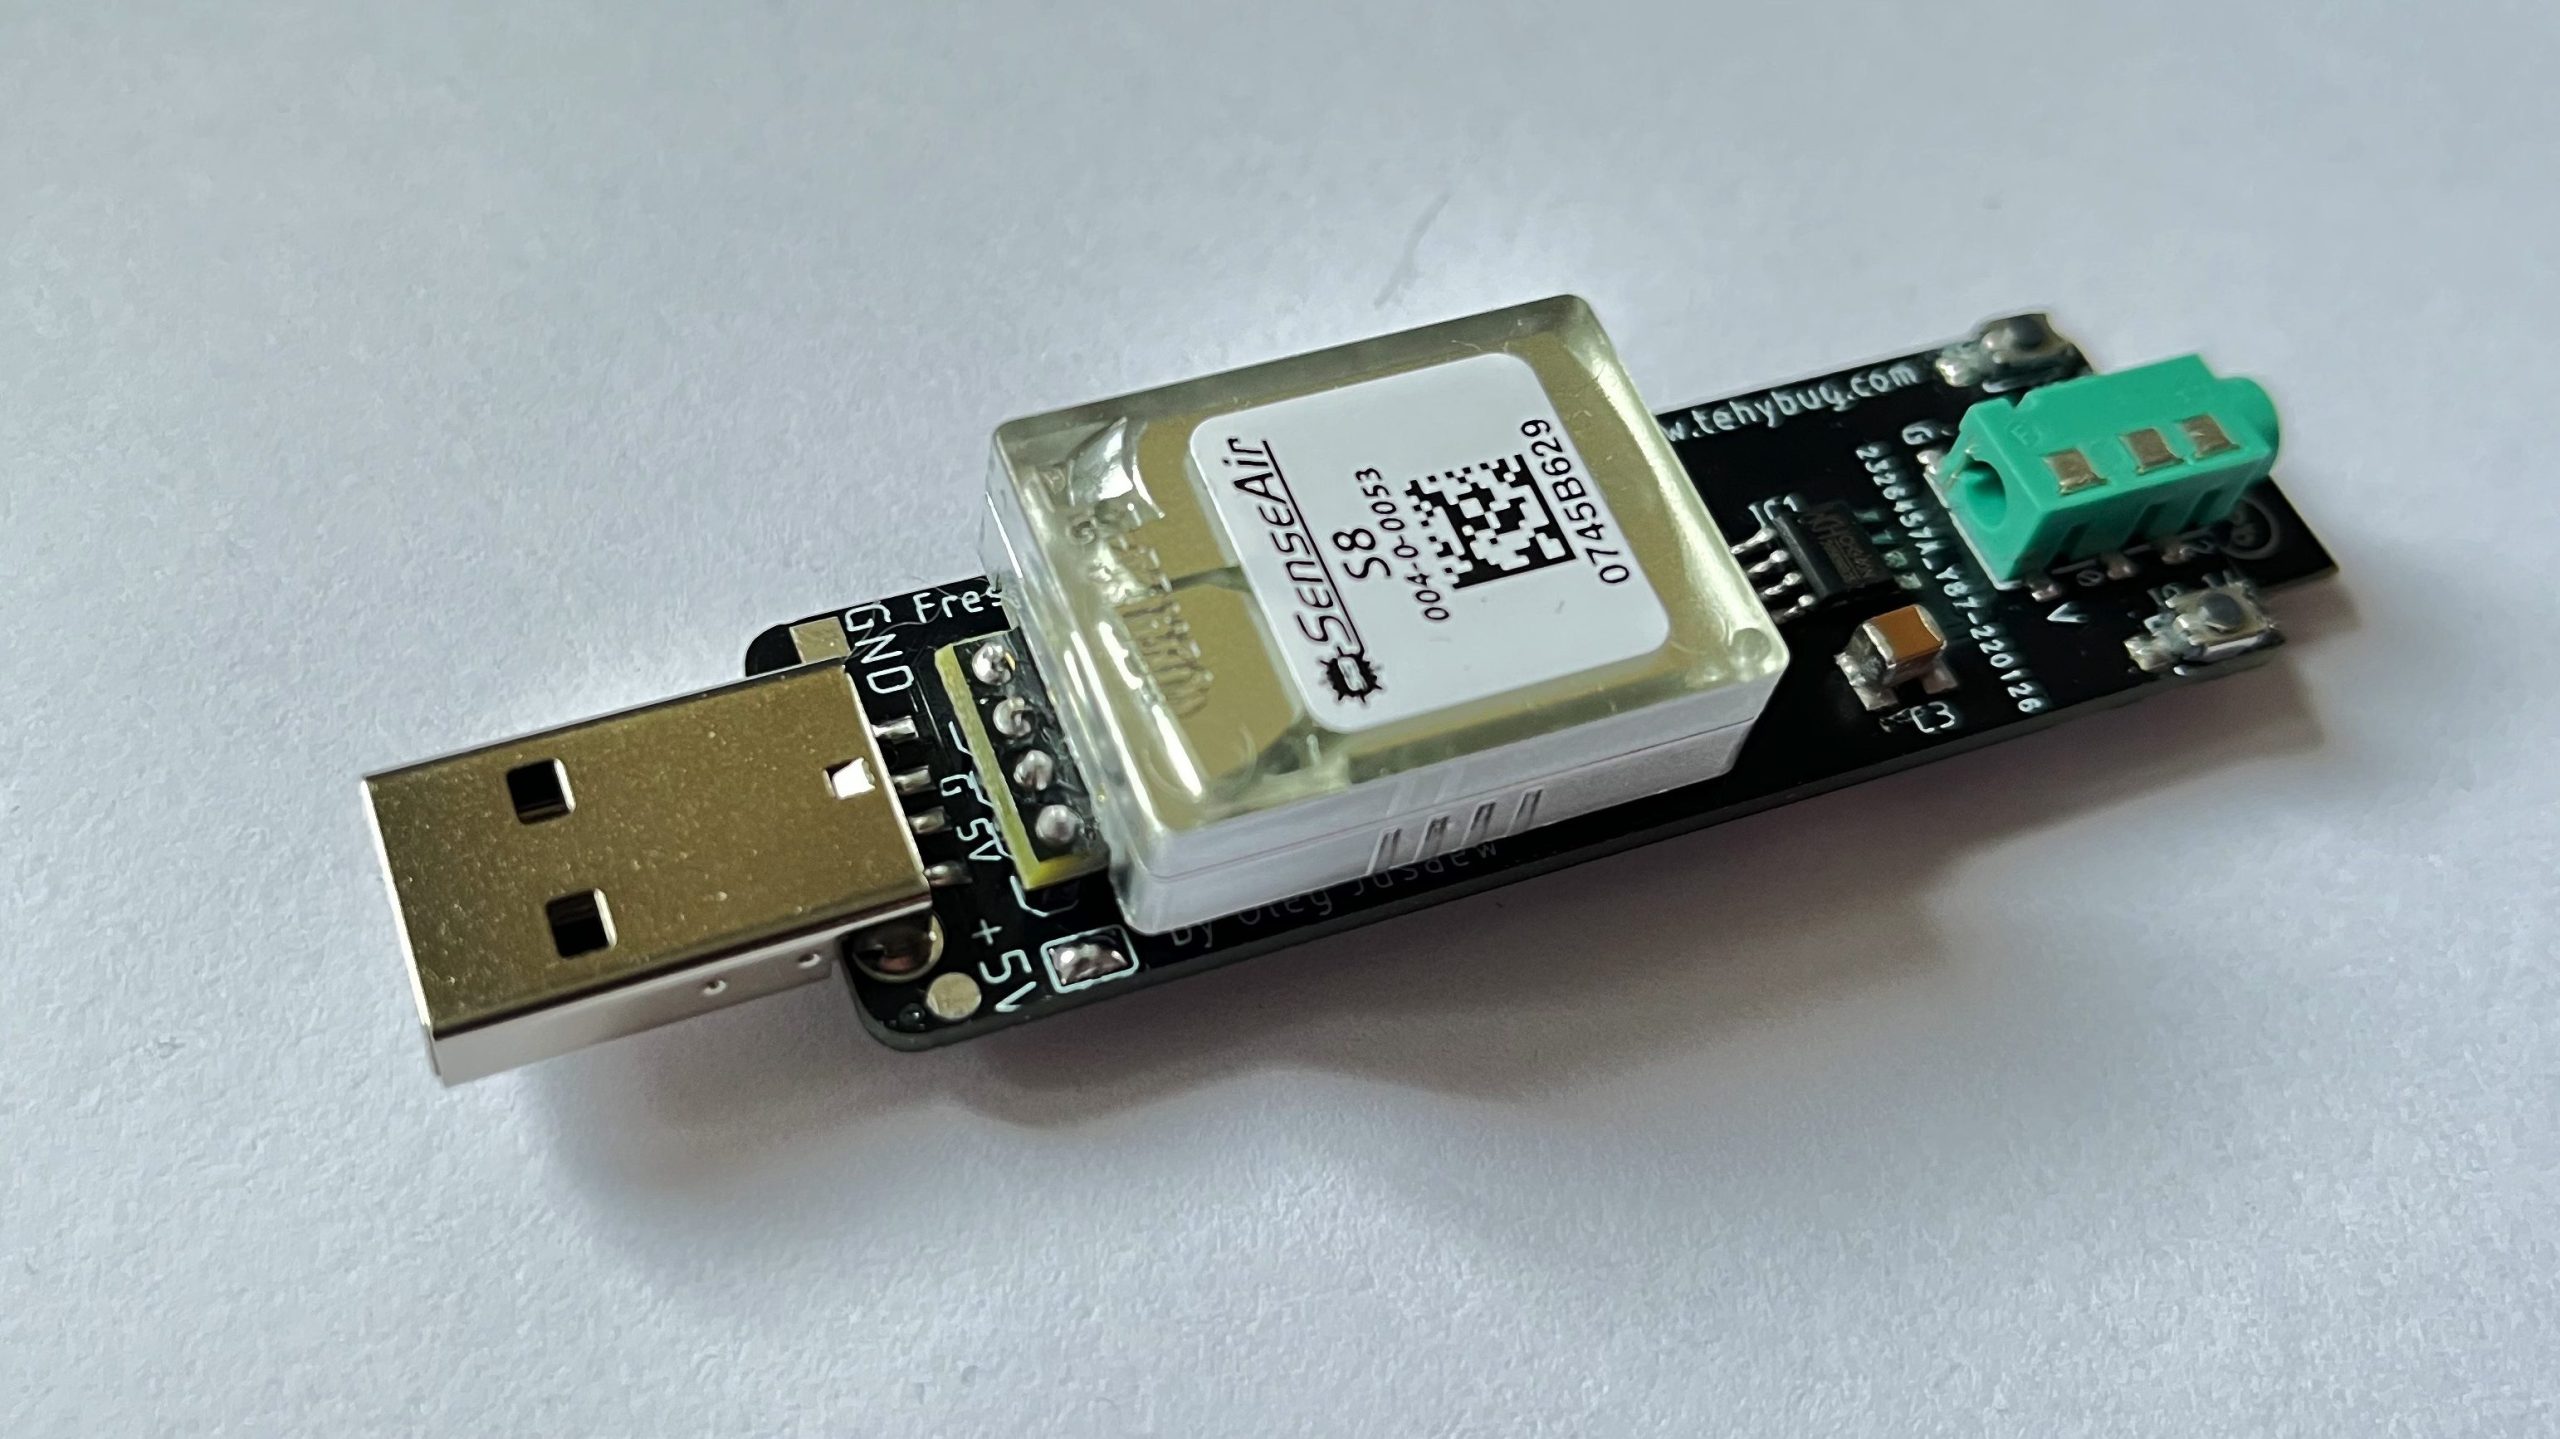
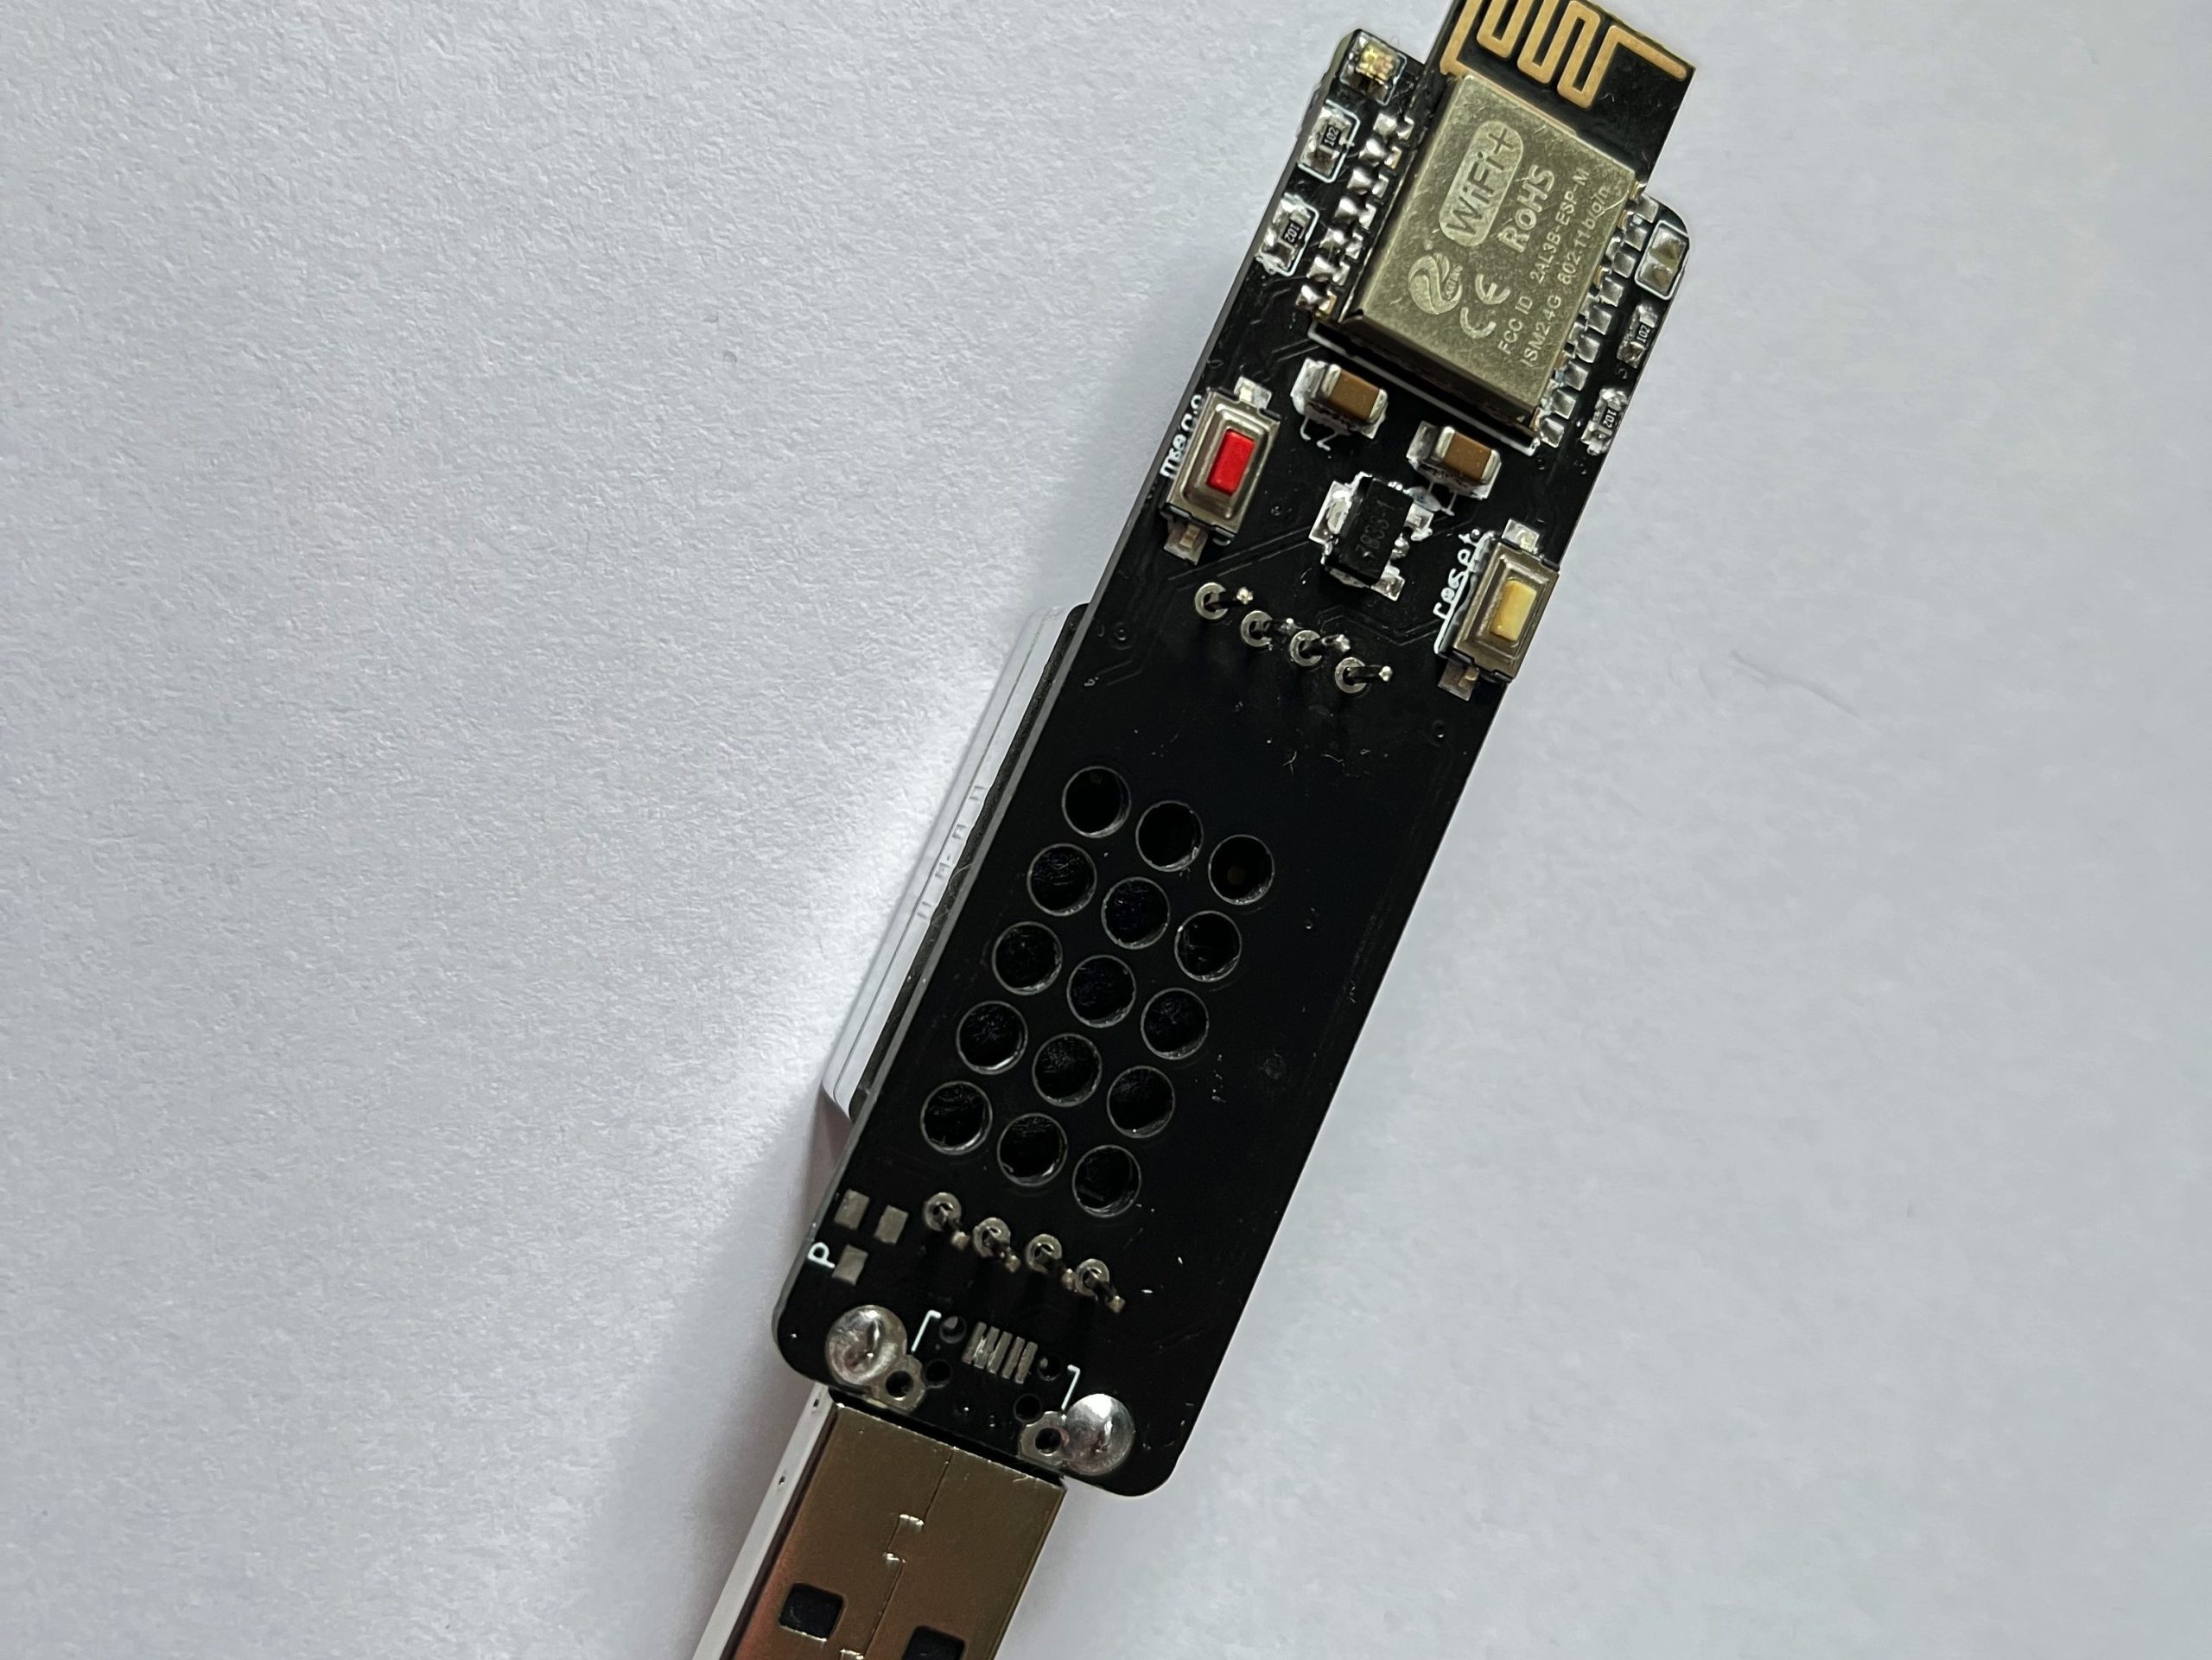
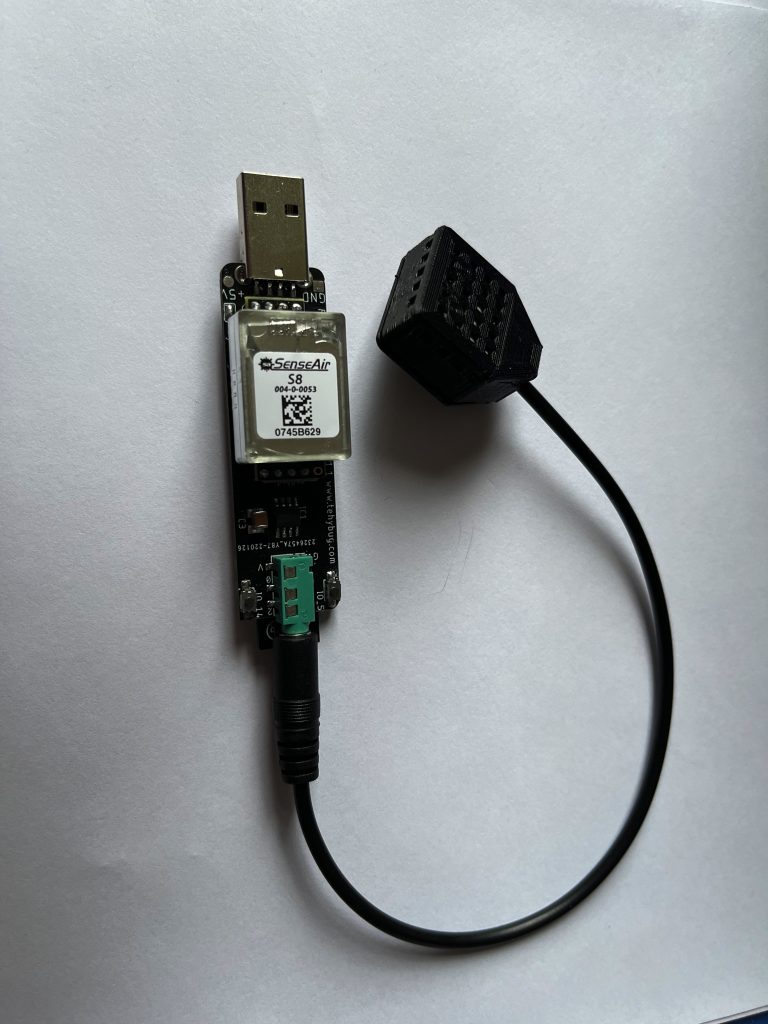
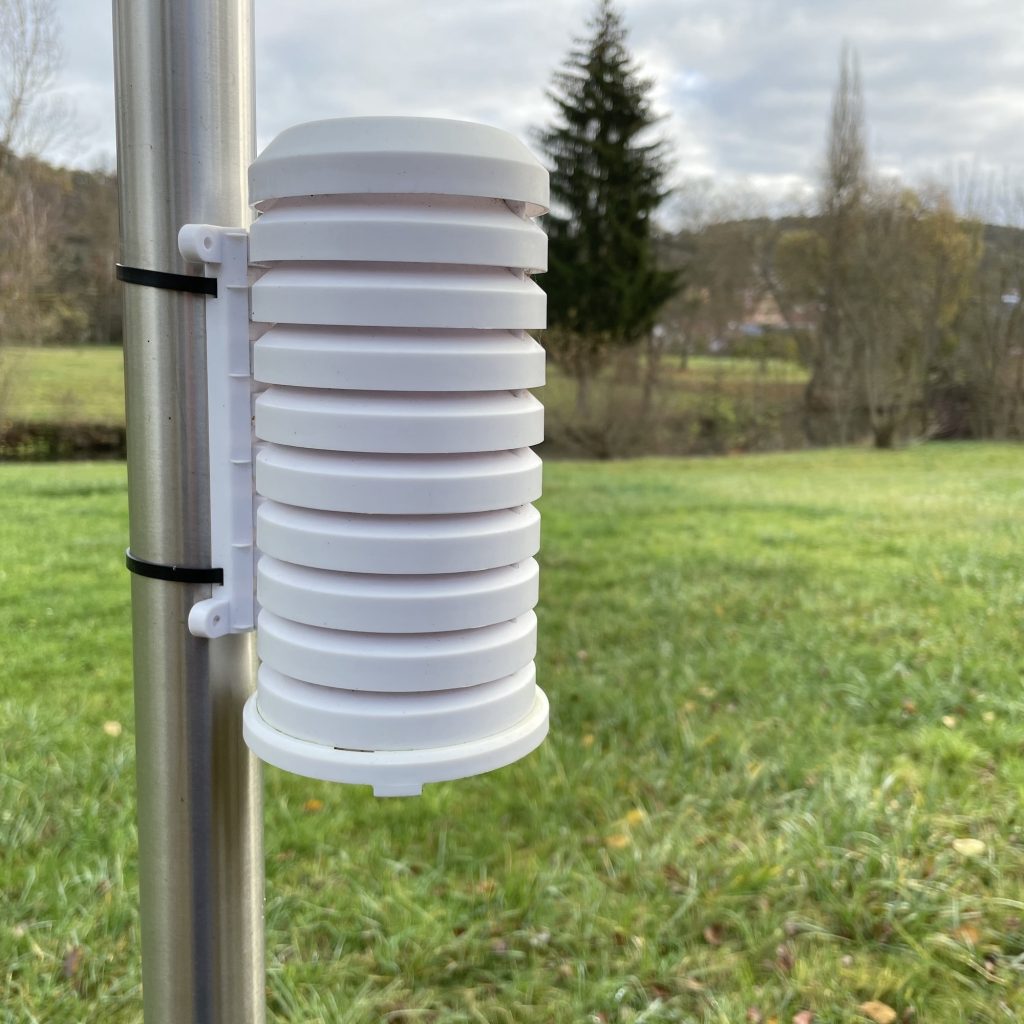
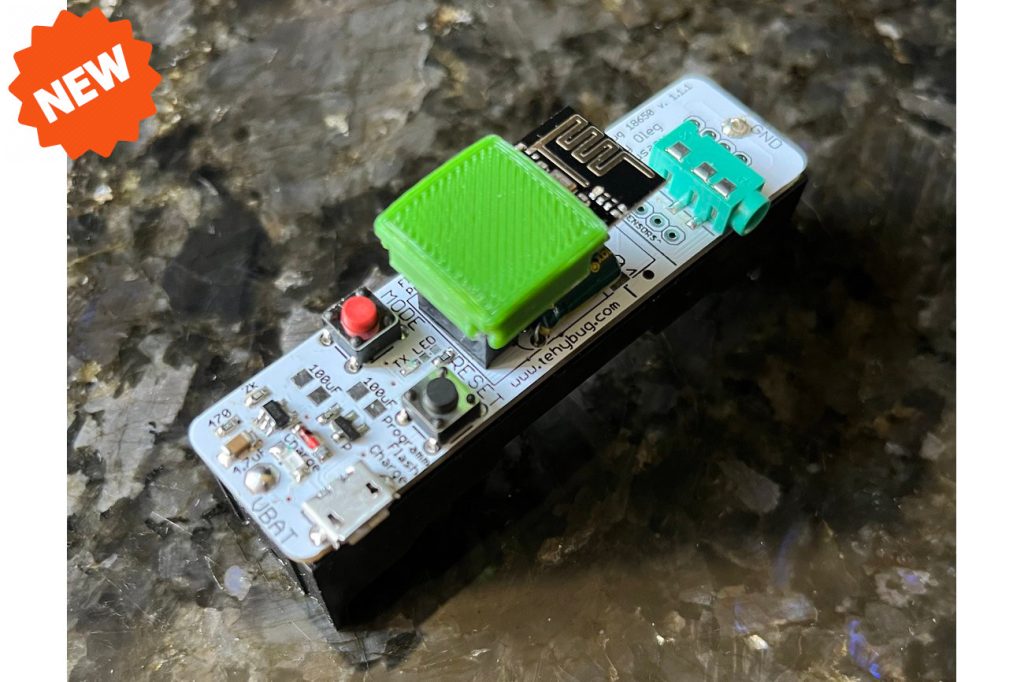
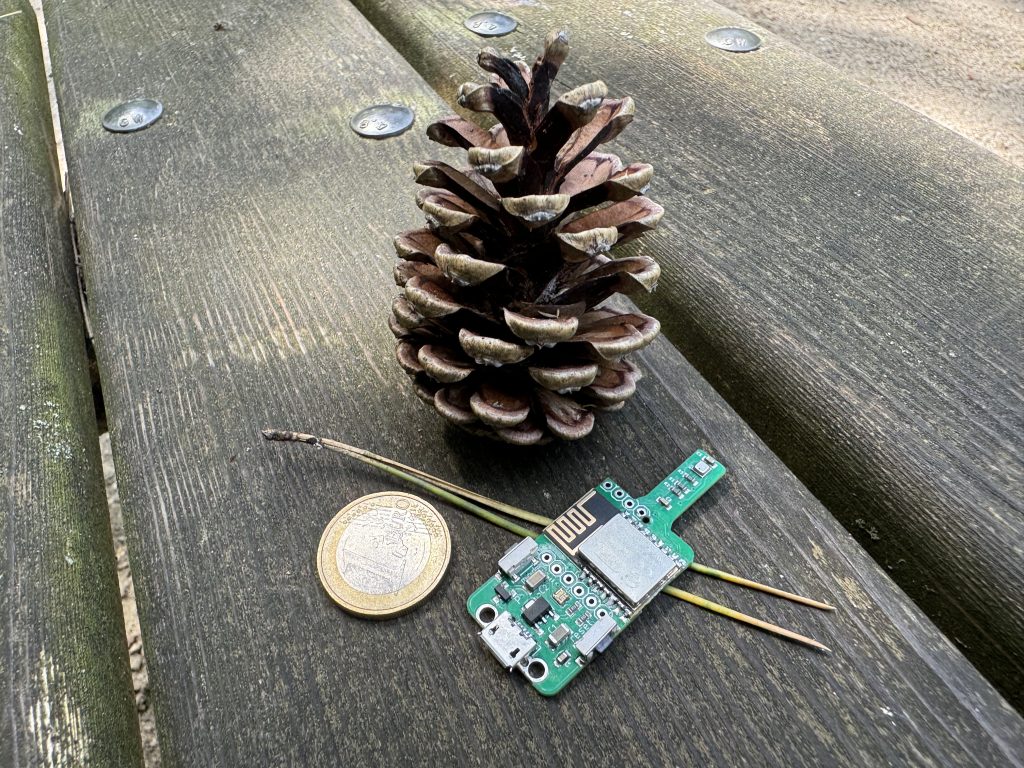
I have designed a new co2 monitor which is made to use it on your desk or attach it to a wall, it has different size (square 55x55mm) due to its 1,54″ e-ink display, but same features like previous co2 sensors, like HomeAssistant connectivity and support of external TeHyBug Universal Sensors.
I’m pleased to announce that I’ve finally completed the firmware for the TeHyBug CO2 FreshAirMakesSense Boards. These IoT devices are designed to monitor CO2 levels and provide insights into the air quality in your home or office. With the new firmware, these devices are now even more versatile and useful for smart home enthusiasts and DIYers.
The new firmware includes all of the most essential features for smart home integration. One of the key features is the built-in webserver, which serves up sensor data in JSON format. This means that you can easily access and analyze the data using your favorite programming language or data analysis tool. In addition, the firmware includes an autodiscovery mode for HomeAssistant, which makes it easy to integrate the devices with your smart home setup.
But that’s not all – the firmware also includes support for OLED displays, which can be used to display real-time sensor data or other useful information. There are also several other features that are sure to come in handy for DIYers and smart home enthusiasts.
If you’re interested in trying out the new firmware, I invite you to visit the GitHub repository where I’ve published the code. You’ll find a complete list of features and a detailed description of how to install and use the firmware. With this new firmware, the TeHyBug CO2 FreshAirMakesSense Boards are even more powerful and versatile, and I’m excited to see what the community will create with them!
At TeHyBug, we’re always looking for ways to improve and expand our product offerings. That’s why we’re thrilled to introduce our latest innovation – a new, smaller version of our CO2 sensor board.
This means that the new board is even more compact and can fit into tight spaces, making it ideal for a wide range of applications.
To showcase the new board in action, we’ve created a 3D printed enclosure and put together a demonstration video, which you can watch here: https://youtu.be/aRd_TyuY4yc. The video demonstrates the board’s features and capabilities, including the OLED display connector.
To make the most of the new board’s features, we’ve also released firmware that includes support for OLED displays and HomeAssistant autodiscovery. This firmware is available on our GitHub repository at: https://github.com/gumslone/tehybug/tree/master/tehybug_co2_firmware. This allows users to easily integrate the new board into their existing smart home setups and access sensor data in real-time.
But that’s not all – we’ve also upgraded our Senseair S8 board to support a display connection, making it even more versatile and useful for a range of applications. This upgrade provides even more options for displaying sensor data and makes the board even more accessible for DIYers and smart home enthusiasts.
At TeHyBug, we’re committed to providing high-quality products that are both reliable and easy to use. With our new mini CO2 sensor board and upgraded Senseair S8 board, we’re excited to offer even more options for monitoring air quality and integrating sensors into smart home setups. For more information about our products and to stay up-to-date on our latest developments, be sure to visit our website and blog.
Size comparison TeHyBug CO2 with S8 Senseair Sensor and with SCD4X Sensor
Tasmota is an open-source firmware for smart home devices that provides a powerful and flexible platform for controlling and automating your home. By flashing your TeHyRelay/GumRelay device with Tasmota firmware, you can take advantage of a wide range of features and integrations that are not available with the default firmware.
To get started with Tasmota, you’ll need to follow a few simple steps. First, you’ll need to download the latest Tasmota firmware from the official website. Once you have the firmware downloaded, you can use a tool like Tasmotizer to flash your device. Tasmotizer is a simple and user-friendly tool that makes it easy to flash your device with Tasmota firmware.
Once your device is flashed with Tasmota firmware, you can use the Tasmota web interface to configure it to your liking. This interface provides a wide range of configuration options, including support for MQTT, HTTP, and more. You can also use the web interface to set up rules, timers, and other automation features.
First start configuration
Connect GumRelay to a power source, (Recommended 4,5 to 6Volt).
Please keep the correct polarity.
After that, a WIFI network will be created by the ESP01 Module. Please connect to the tasmota-XXXX Network.
At AP1 Password provide the password of your WIFI network.
To find out which IP the GumRelay has received, you’ll have to connect to your router and look at DHCP Leases. Or you can use apps like Wireshark to scan your local network for connected devices.
Then connect to the like: http://192.169.xx.xx/ with your browser and a GumRelay Control page will appear.
3 different relays are available at the TeHyBug Shop with a tasmota firmware.
There are 3 different relay sizes available at the TeHyBug store which come with pre-flashed tasmota firmware. Actually, there is also a PSU breakout board, which uses the micro relay and uses tasmota firmware too.
We’re excited to announce the latest version of our TeHyBug 18650 Universal board, a versatile and easy-to-use solution for a variety of DIY projects. Whether you’re a hobbyist or a professional, the TeHyBug 18650 Universal board offers the flexibility and functionality you need to bring your ideas to life.
The board features a compact design, measuring just 70x20mm, and is compatible with a wide range of popular sensors, including DHT11, DHT22, BME280, and more. With a low quiescent current, the TeHyBug 18650 Universal board won’t drain your battery when it’s not in use, making it an ideal IoT device.
To help you get started with the TeHyBug 18650 Universal board, we’ve provided detailed documentation on our website.
In addition to its versatility and ease-of-use, the TeHyBug 18650 Universal board also features several improvements to its design, including more convenient headers for I2C interfaces, an extra LED indicator, and a reset button.
If you’re interested in learning more about the TeHyBug 18650 Universal board, be sure to check out our website, where you can find more detailed information and purchase the board. We welcome your feedback and suggestions, and we’re always working to improve our products to better meet your needs.
The new updated version of the TeHyBug universal 18650 Board is already available at Tindie.
The difference compared to the previous version:
Old version
New version
The previous version of the device utilized an ESP-01 Module that came with 1MB memory. It was straightforward to replace or switch out the module, and could be conveniently flashed with an esp-01 programmer. The device also had a display connector integrated on the board. However, since the ESP-01 Module did not support ADC ports, the previous version lacked any such ports.
The updated version of the device features a soldered-to-board ESP-m1 Module that comes with 2MB Memory. Unlike the previous version, this module needs to be flashed directly onto the TeHyBug board. The device no longer has a display connector on the board as a specially designed TeHyBug Display board is available. However, users can still use the i2c Port to connect a display. The new version includes an ADC Port that enables users to connect soil moisture and other ADC sensors. It’s worth noting that the ADC Port is also compatible with one-wire sensors. Another notable feature is the solar panel connector located on the back of the board. This feature makes it possible to charge the battery using a solar panel.
We spend over 90% of our time indoors, where the amount of CO2 we exhale has a significant impact on our health and well-being. High CO2 concentrations not only lead to tiredness, headaches and can cause dizziness, they are also a good indicator of when the distribution of aerosols in the air exceeds a value that is more conducive to the spread of coronaviruses. Ventilation therefore reduces the risk of corona infection.
New TeHyBug device with CO2 Senseair S8 sensor that also supports additional TeHyBug Universal sensors. Unfortunately, the default TeHyBug software is not supported by this new device, it wasn’t developed yet, but you can flash EspHome to it and connect the device to your home assistant, the configuration for EspHome I will post below.
The features:
SenseAir S8 CO2 Sensor
ESP8285 Wifi Chip that serves the sensor data directly to homeassistant, no zigbee gateway etc. needed.
CH340 USB to UART Chip for flashing and programming
4 Buttons: 1 Mode (set flashmode), Reset, IO_5 and IO_14 are free programmable
TeHyBug Universal sensor connector to extend the device with. more sensors, like temperature, humidity, barometric air pressure, UV Light or Luminance
WS2812B indicator LED, for indicating the Air Quality
outdoor weather station enclosure for a TeHyBug 18650 universal
TeHyBug 18650 Universal is well suited for the outdoor weather station, it large capacity battery which will last for a long (depending on the data frequency and wifi connectivity) it also has a charging circuit, where you can connect a 5.5V solar cell to charge the battery.
TeHyBug 18650 Universal
Swappable sensors provide you many possibilities for measuring environmental data. It has a tight-fit pin header connector that can accept VCC->GND->i2c sensor modules like BME680/BME280/BMP280
TeHyBug Bot for Telegram messenger exists already for several years, but not many are using it, probably because they don’t know what it is and how to use it.
First of all, you will need a Telegram messenger you can install from the apple app store on iPhone or google play store on Android.
Then open https://t.me/tehybot or search for TeHyBot in Telegram and start chatting with it. If it doesn’t start chatting with you automatically type /start and submit. After that, you will receive the chat id number.
Copy the chat id and head over to TeHyBug.com profile settings and provide there your telegram chat id.
From now you can use the following commands in your TeHyBot chat:
/humidity – to receive the humidity sensor data
/temperature – to receive the temperature sensor data
/chat_id – to receive the chat id again, in case you forgot it.
/help – to show the full list of available commands
TeHyBot
You can also define Telegram alerts for your TeHyBug in the alert settings and TeHyBot will send you alert messages.
GumPixel Board aka Neopixel Controller with ESP8266 ESP-12F which has 4MB memory and supports OTA updates
I have created a compact and versatile neopixel driver board that has multiple uses, including functioning as a ser2net programmer, data logging environment, and reading UART sensor data. However, its primary purpose is to drive WS2812B/SK6812 led strips or matrixes and create captivating light effects. It can be programmed with WLED to drive Led Strips or with PixelIt to drive a Led matrix.
This board, also known as the GumPixel Board, is equipped with an ESP8266 ESP-12F with 4MB memory and supports OTA updates. It stands out because of its small size and user-friendly screw terminals and buttons. The board accepts a 5V power input and can output power to WS2812b LEDs. Additionally, it works with all 5V LED strips and can drive 8×32 led matrix displays like Pixel It with ease.
A compiled binary for the ESP-01 PixelIt led Matrix display is available under the documentation link below. You can also use it with the WLED library. The board includes a mode (GPIO_0) and RESET button, two soldering pads for connecting an additional button, and convenient screw terminals for wiring. A thick 5V power delivery trace is included to ensure sufficient current delivery to the LED strip, and a large low ESR capacitor improves system stability. Furthermore, a breakout for UART programming flashing and a hot-swap 2×4 Pin Female connector for the ESP-01 Module are provided.
The GumPixel board functions perfectly with WS2812/SK6812 LED strips and WLED software for Ambilight and Xmas tree decoration, as well as with WS2812/SK6812 LED Matrix displays. You can purchase it from Tindie by following the link below.
The GumPixel board is a powerful and flexible tool for anyone looking to create eye-catching lighting effects with LED strips or matrix displays. It is incredibly versatile and can be used in a wide variety of applications, from creating mood lighting in a bedroom or living room to adding visual flair to a DJ booth or stage show. The possibilities are truly endless.
One of the standout features of the GumPixel board is its small size and convenient screw terminals and buttons. These make it incredibly easy to install and use, even for those who may be new to working with LED strips or matrix displays. Additionally, the board is designed to be highly reliable, with features such as a thick 5V power delivery trace and a large low ESR capacitor that ensure stable operation even in challenging environments.
Another advantage of the GumPixel board is its compatibility with a wide range of software tools and programming languages. Whether you prefer to use WLED, PixelIt, or another software package, the board is designed to work seamlessly with these tools and provide you with maximum flexibility and control over your lighting effects.
Whether you are a seasoned DIYer or a novice looking to get started with LED lighting, this board is an excellent choice that will provide you with the performance, reliability, and ease of use you need to create stunning visual effects with ease.
https://www.tindie.com/products/21371/
What makes it special?
A small board with convenient screw terminals and buttons which takes a 5V power source on input and provides an output for WS2812b LEDs it also uses a simple ESP8266 ESP-01 Module. It works well with all 5V led strips and drives easily 8×32 led matrix displays like Pixel It.
A compiled binary for ESP-01 PixelIt led Matrix display is available under the documentation link below. You can use it also with a WLED library. https://github.com/gumslone/Pixel-It-ESP8266-ESP-01
Features:
Mode (GPIO_0) and RESET Button
Two soldering pads on the board back to connect additional button i.e. enclosure button which will replicate the mode button actions
convenient screw terminals for wiring
thick 5V power delivery trace for delivering enough current to the LED strip
large low ESR capacitor for a better system stability
breakout for UART Programming flashing
hot-swap 2×4 Pin Female connector for ESP-01 Module
works great with WS2812/SK6812 LED strips and WLED software for Ambilight and Xmas tree decoration
works great with WS2812/SK6812 LED Matrix displays
Both technologies have their advantages and disadvantages, here is a side-by-side comparison of ZigBee vs Wifi sensors for the smart home. For my comparison, I take the TeHyBug Wifi sensor and Aquara ZigBee Sensor which is connected through a HeilBee v4.5 ZigBee stick to my HomeAssistant.
ZigBee
WIFI
Requires a special ZigBee hub or coordinator stick. The Hub is usually connected through WIFI or LAN to the network.
Doesn’t require any special hubs etc. Just a WIFI network. Is very versatile and can connect to a remote server.
Custom data serving modes require some custom software to be installed on the hub. i.e. zigbee2mqtt
All the custom data serving modes already exist on the sensor, it supports HTTP POST/GET/etc. MQTT and other
Usually has a low signal range
Usually has a long and widely spread signal range
Low power consumption, requires a small battery like CR2032 which lasts up to 1 year
WIFI is a power-hungry technology, so a 18650 Lithium Cell will last about a half year or more, depending on the sensor
Easy to add a device to your ZigBee netwoork, requires just a few button presses
Has a complex but more versatile installation and configuration. Requires WIFI network credentials and setting up MQTT broker details to be provided directly to the sensor through WEB UI.