We spend over 90% of our time indoors, where the amount of CO2 we exhale has a significant impact on our health and well-being. High CO2 concentrations not only lead to tiredness, headaches and can cause dizziness, they are also a good indicator of when the distribution of aerosols in the air exceeds a value that is more conducive to the spread of coronaviruses. Ventilation therefore reduces the risk of corona infection.
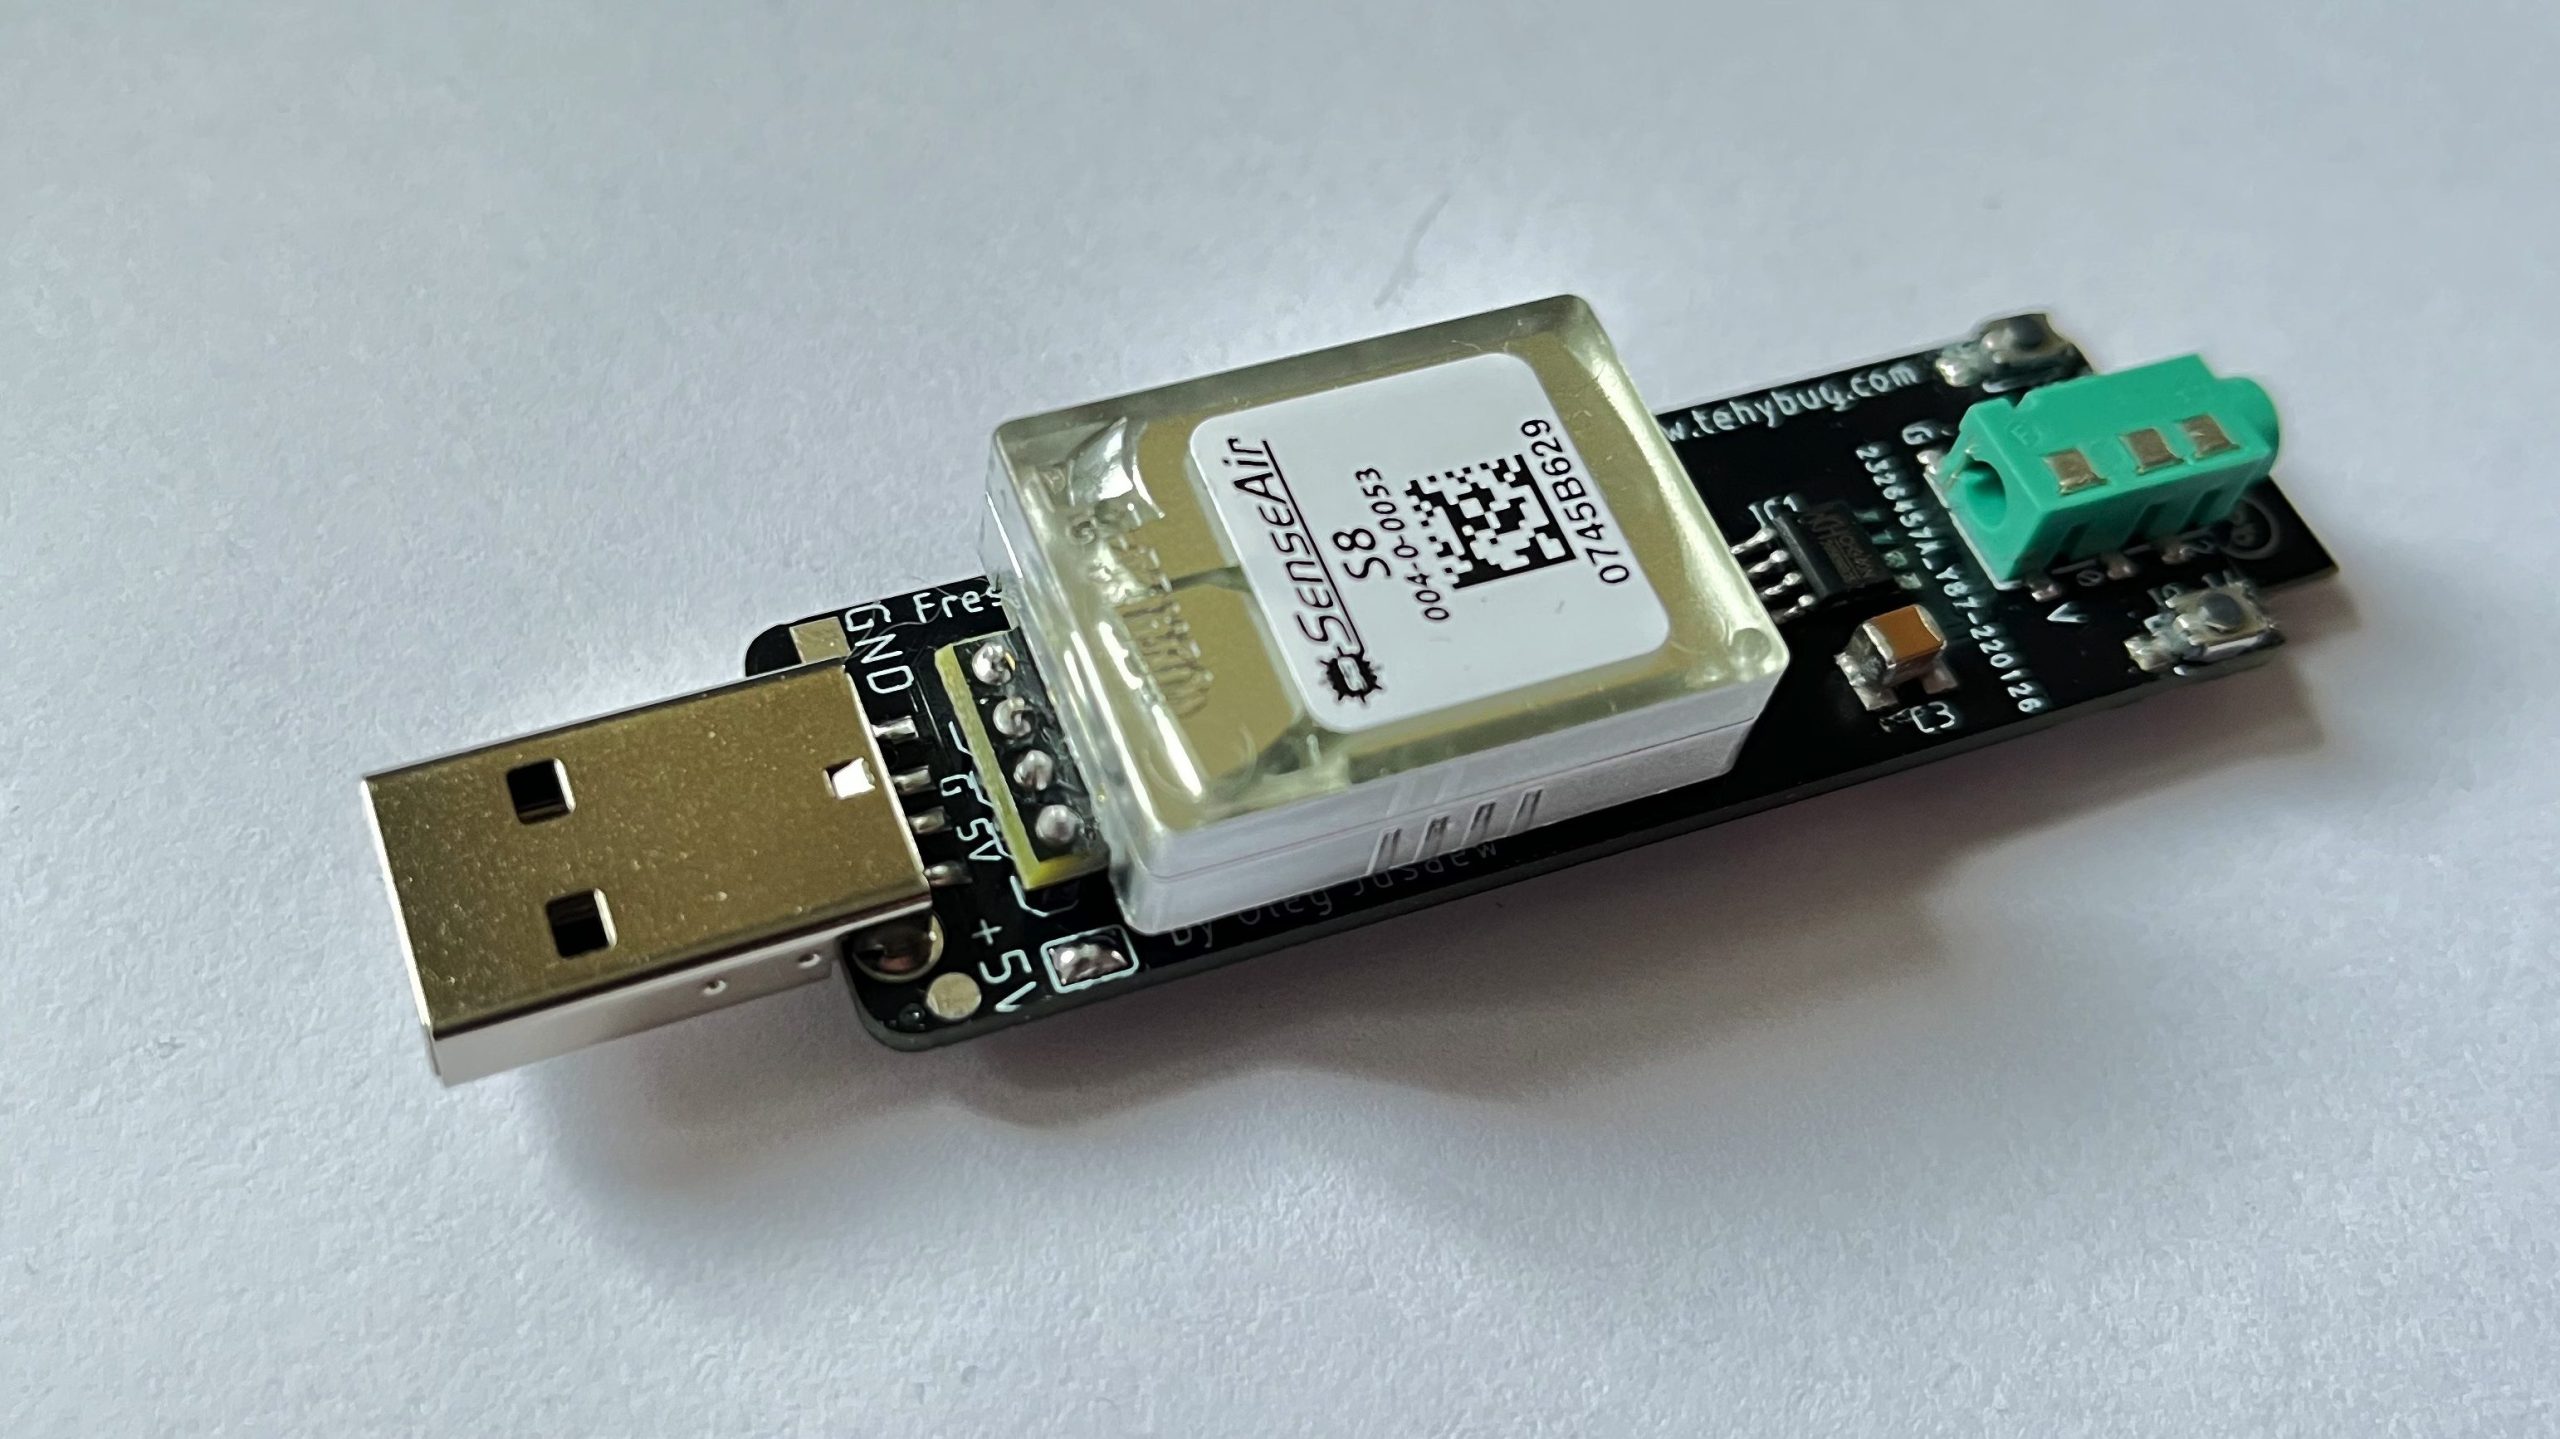
New TeHyBug device with CO2 Senseair S8 sensor that also supports additional TeHyBug Universal sensors. Unfortunately, the default TeHyBug software is not supported by this new device, it wasn’t developed yet, but you can flash EspHome to it and connect the device to your home assistant, the configuration for EspHome I will post below.
The features:
- SenseAir S8 CO2 Sensor
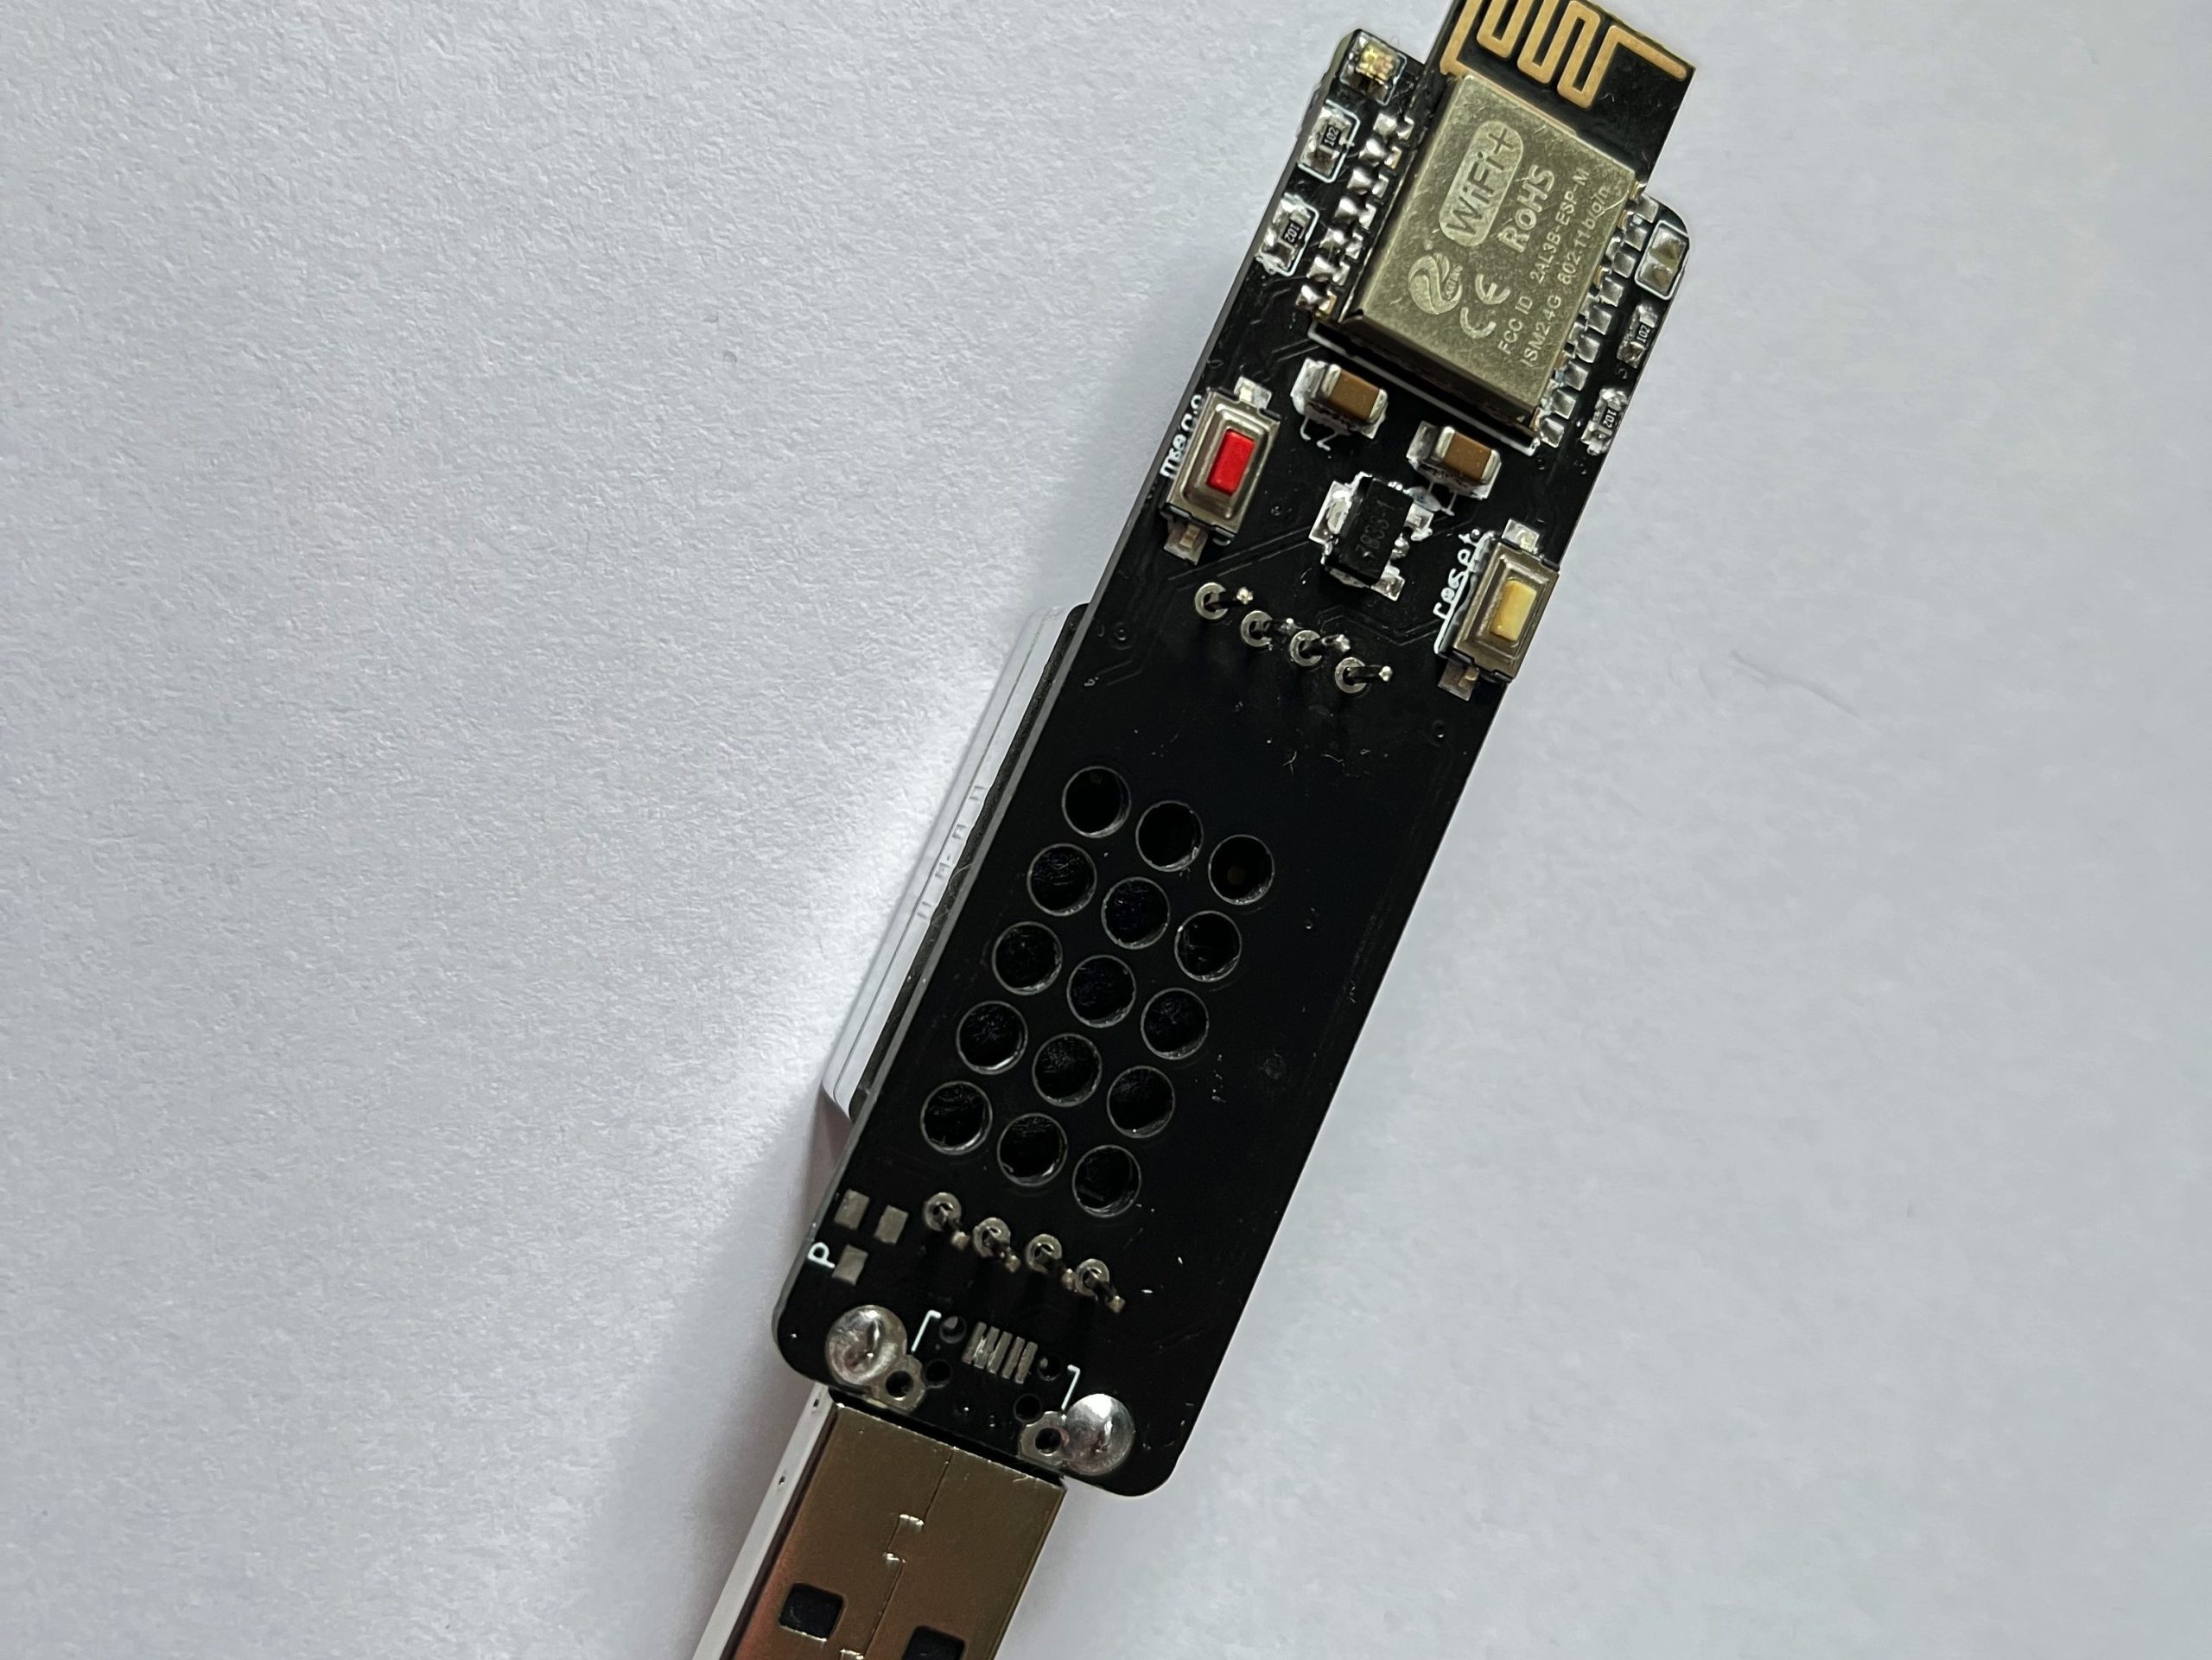
- ESP8285 Wifi Chip that serves the sensor data directly to homeassistant, no zigbee gateway etc. needed.
- CH340 USB to UART Chip for flashing and programming
- 4 Buttons: 1 Mode (set flashmode), Reset, IO_5 and IO_14 are free programmable
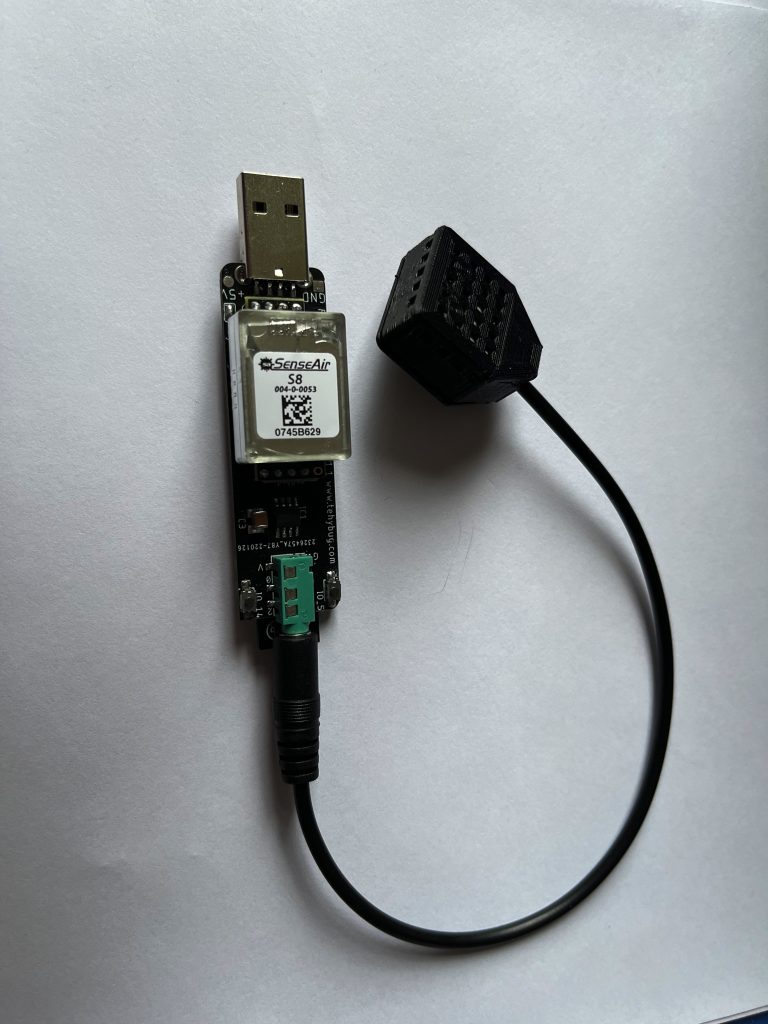
- TeHyBug Universal sensor connector to extend the device with. more sensors, like temperature, humidity, barometric air pressure, UV Light or Luminance
- WS2812B indicator LED, for indicating the Air Quality
EspHome configuration:
esphome:
name: tehybugco2
esp8266:
board: esp8285
# Enable logging
logger:
# Enable Home Assistant API
api:
ota:
password: "5965ae0dcewvr546a66e0830fc"
wifi:
ssid: "MyWifiNetwork"
password: "MyWifiPassword"
# Enable fallback hotspot (captive portal) in case wifi connection fails
ap:
ssid: "Co2Test Fallback Hotspot"
password: "17Ij4qwdZQTOko"
captive_portal:
# show co2 status color
binary_sensor:
- platform: status
name: "Infostrip Status"
- platform: gpio
name: Button 14
pin:
number: 14
inverted: true
mode:
input: true
pullup: true
id: btn14
on_press:
- light.toggle:
id: light_fastled
- platform: gpio
name: Button 5
pin:
number: 5
inverted: true
mode:
input: true
pullup: true
id: btn5
on_press:
then:
- light.toggle:
id: light_fastled
uart:
# For software serial:
rx_pin: GPIO4
tx_pin: GPIO13
baud_rate: 9600
id: myuart2
sensor:
- platform: senseair
id: senseair_s8
co2:
name: "FreshAirMakesSense CO2 Value"
id: senseair_co2
update_interval: 60s
- platform: aht10
temperature:
name: "FreshAirMakesSense AHT10 Temperature Value"
humidity:
name: "FreshAirMakesSense AHT10 Humidity Value"
update_interval: 60s
- platform: bmp280
temperature:
id: bmp280_temp
name: "FreshAirMakesSense BMP280 Temperature Value"
oversampling: 16x
pressure:
name: "FreshAirMakesSense BMP280 Pressure Value"
update_interval: 60s
i2c:
sda: GPIO0
scl: GPIO2
scan: True
id: bus_a
# Configure each pixel as a single light (attention memory consuming)
light:
- platform: neopixelbus
type: GRB
variant: WS2812
pin: 12
num_leds: 1
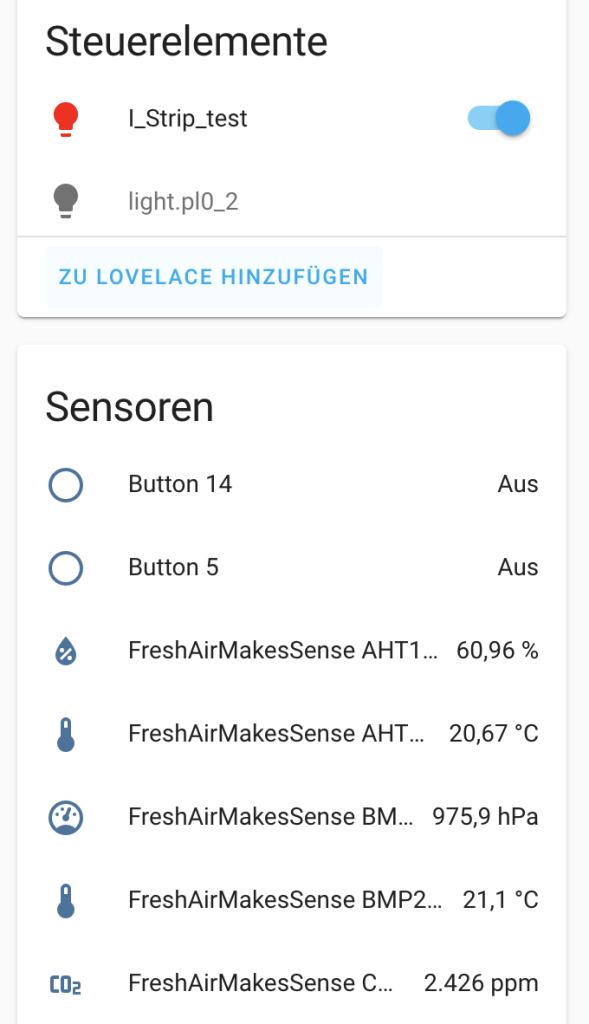
name: "I_Strip_test"
id: light_fastled
on_turn_on:
then:
- light.control:
id: light_fastled
effect: Light Effect
effects:
- lambda:
name: Light Effect
update_interval: 10s
lambda: |-
int state = id(senseair_co2).state;
auto call = id(light_fastled).turn_on();
call.set_transition_length(500);
if(state > 1500)
{
call.set_rgb(.5, 0, 0);
}
else if(state > 1000)
{
call.set_rgb(.5, .5, 0);
}
else
{
call.set_rgb(0, .5, 0);
}
call.perform();
button:
- platform: template
name: Calibration
id: my_button
on_press:
then:
- senseair.background_calibration: senseair_s8
- delay: 120s
- senseair.background_calibration_result: senseair_s8How to calibrate the sensor?
connect it to a power bank and place it outside on fresh air, go to the entities of your home assistant, select the TeHyBug Co2 there and click the Calibration Button in the menu.

[…] is a smaller version of the https://blog.tehybug.com/index.php/2022/02/20/tehybug-senseair-co2-sensor/ its smaller because it uses a different sensor SCD4x which has a smaller size. The new board also […]